You know when you’ve had a good pickle! To some, it might be when it crunches. Others might enjoy the snappy flavor. Wouldn’t it be great if you could master your favorite pickle at home? The cost is minimal and the results are massive. You can play with ingredients to perfect your pickle recipe. And don’t forget about the health benefits of fermented foods. Now, you’ll have pickles on hand for hamburgers, snacks, potato salad, and don’t forget about gifts. What says love more than homemade food?
GIFT IDEA: Accompany a jar of your homemade fermented pickles along with a Congratulations on your Pregnancy card.
INGREDIENTS
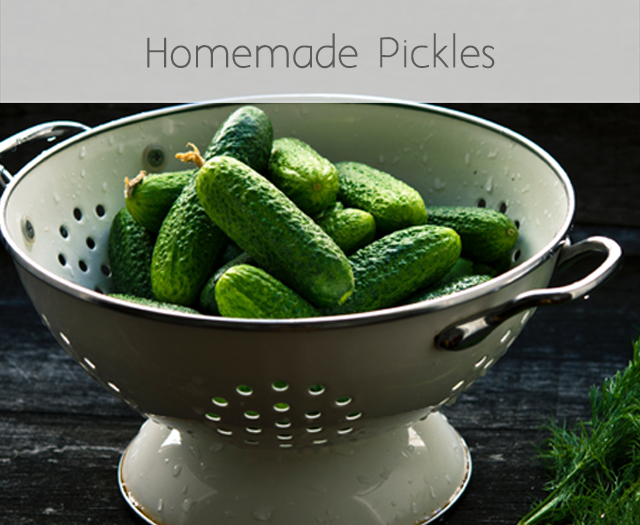
- 6-7 pickling cucumbers
- 2 garlic cloves, peeled
- 6 chili peppers, chopped
- 3-4 sprigs fresh dill
- 2 Tbsp dill seeds
- 1 Tbsp pickling spice
- 3 cups water, at room temperature
- 1½ Tbsp Himalayan or unrefined salt
- 1 large mouth, 2 pint glass jar with tight fitting lid
INSTRUCTIONS
- Trim cucumber ends. Make spears, wheels or leave whole
- Fit the cucumbers snuggly in the jar. Add dill, peppers, dill seeds and pickling spice
- Dissolve salt in room temp water. Pour over the cucumbers until they are completely submerged. Leave 1 inch at the top to allow the brine to bubble up during fermentation without exploding
- Once the cucumbers are completely covered with the brine, place a small non-reactive object such as a small dipping bowl, shot glass or plastic lid over them to make sure they stay submerged. Close the lid but not hermetically. Screw your cover loosely or remove the rubber band that makes hinged-top jars air-tight before closing it
- Leave on the counter for 7 to 10 days. During that period, you’ll want to crack open your jar every once in a while to let the excess gas escape
- After 7 to 10 days, transfer your now pickles to the refrigerator where they will keep for several weeks